Enabling DKIM in Google Workspace
Preparing the DKIM Key for Google Workspace (G-Suite)
It is always important to protect your domain from both spoofing and phishing, and to help prevent messages from being marked as spam.
One of the most integral ways to add such a layer of protection is to setup a DomainKeys Identified Mail (DKIM) key for your domain. This article covers the steps necessary to get your DKIM key generated, adding the key to your domain provider, and turn on DKIM authentication for your Google Workspace tenant and domain.
Steps to enable DKIM:
- Navigate to your Google Admin console, reachable at Admin.Google.com.
- In the Admin Console, go to Menu > Apps > Google Workspace > Gmail.
- Click Authenticate Email.
- In the Selected Domain menu, select the domain you want to set up DKIM.
- Click the Generate New Record button.
- In the Generate New Record box, select your DKIM key settings
| Setting | Options |
|---|---|
| DKIM key bit length | 1024 - If your domain
host
doesn't support 2048-bit key, select this option. 2048 - If your domain provider supports 2048-bit keys, select this option. Longer keys are more secure than shorter keys. If your domain provider supports both 1024-bit keys and 2048-bit keys, you can switch between the two. |
| Prefix selector | The default selector for Google Workspace is google. It's recommended to use the
default. If your domain already uses a DKIM key with the prefix google, enter a different prefix in the field. |
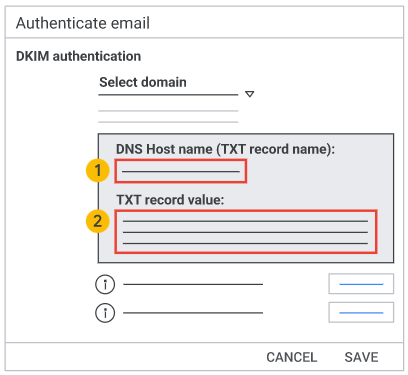
- At the bottom of the Generate New Record Box, click Generate. On the setting page, the text string beneath TXT record value changes to a new value and the following message is displayed: DKIM authentication settings updated.
- Copy the DKIM values shown in the Authenticate email window. This is the data that will be used to create the DKIM record in your DNS.
- Navigate to your DNS provider (GoDaddy, CloudFlare, Hover, etc) and create a new DNS TXT record, then past in the DKIM values.
- Commit and save the record.
Turning on DKIM Signing
After the TXT records Google provided in the prior steps, DKIM signing must be initiated to finish the setup. This will involve a return to the Google Admin Console.
- Navigate to your Google Admin console, reachable at Admin.Google.com.
- In the Admin Console, go to Menu > Apps > Google Workspace > Gmail.
- Click Authenticate Email.
- In the Selected Domain menu, select the domain you want to set up DKIM.
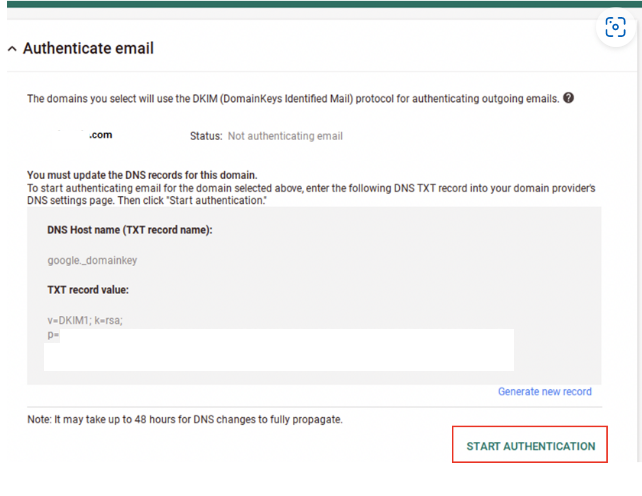
- Click the Start Authentication button and wait while Google validates the DKIM record and configures itself to use it going forward. When DKIM is complete setup, the status at the top of the page changes to: Authenticated Email with DKIM.
Once setup is complete, verify that the DKIM record is live by sending a test message to yourself and analyzing the header of the message for the DKIM signature.
Microsoft’s Message Header Analyzer tool, available here, is a fantastic way to verify a parsed out version of an email’s header.